Anyone who has purchased a high-quality bicycle or e-bike is often faced with the question: Where to put it when it's not in use? Bicycle storage rooms in apartment buildings are often overcrowded, and leaving the bike on the street or in the yard isn't an option. There, the bikes are exposed to the elements, which aren't good for the mechanics in the long run. There's also an increased risk of theft. For many, this is why their own home is the best place for their beloved bike. A wall mount is a clever idea. This keeps the bike safely stored, quickly accessible when needed, and also puts it on display!
The great thing about it: With a little craftsmanship, a wooden bike wall mount is easy to build yourself and is also a visual highlight. We'll explain the step-by-step process and what you should pay particular attention to.
Materials needed:
- Wooden boards (e.g. oak or birch plywood, at least 3 cm thick and large enough to hold the bike)
- wooden angle
- Screws and dowels
- spirit level
- drill
- Screwdriver or cordless screwdriver
- saw
- tape measure
- Pencil
- sandpaper
- Varnish or wood preservative (optional)
Instruction steps
Step 1: Measure the frame and bracket
Determine the dimensions of your bike frame to determine the appropriate width for the mount. Make sure the wooden board is wide enough to securely hold your bike.
Step 2: Cut the wooden board correctly
Use a saw to cut the wooden board to the desired length. Make sure the ends are straight and even.
Step 3: Position the bracket
Place the wooden board on the desired wall or surface. Use a spirit level to align the angle brackets underneath to ensure they are straight. Then, mark the position of the drill holes for the bracket with a pencil.
Step 4: Drill holes
Position the bracket holes so that they hold your bike frame securely without damaging it. Use a spirit level during this step to ensure the holes are level. Drill the holes into the wall at the marked locations. Make sure the holes are deep enough to accommodate the screws.
Step 5: Hang up the bike mount
Insert the dowels into the drilled holes, place the bracket on the wall, and secure it with screws in the prepared holes. Make sure the screws are tight and securely hold the wood.
Step 6: Test the bike mount
Make sure the mount is properly installed by carefully placing your bike into it. Check that your bike is secure and stable and doesn't wobble.
Step 7: Edit the surface (optional)
If you want, you can smooth the surface of the wooden board with sandpaper. You can also apply varnish or a wood preservative to protect the wood from moisture or dirt. We also recommend attaching a protective edge made of fabric or rubber to prevent damage to your bike's frame.
Congratulations! You've built and hung a basic bike rack yourself in no time. Now you can store your bike safely and conveniently in your own home.
If that's too much work for you, you can also use our SUSHI wall mount , which is suitable for the Maki models. This custom-made design, with its matte black finish, is a perfect match for your SUSHI BIKE in terms of design and practicality! It also offers space for a battery , a lock , lights , your helmet , or other items. The included felt strips, which can be glued into the frame mount and battery compartment, protect against scratches.
Included is an instruction manual including a drilling template, so nothing can go wrong during installation. By the way: Screws and dowels are not included, as they depend largely on the local conditions and the quality of your walls.
Here are the facts about our wall mount at a glance:
- 34 cm deep (for handlebar width up to 60 cm), 24 cm wide, 25 cm high
- Net weight: 4500 g
- Material: steel
- Felt strips for frame holder and battery compartment protect against scratches
- Operating instructions including drill hole template for easy installation
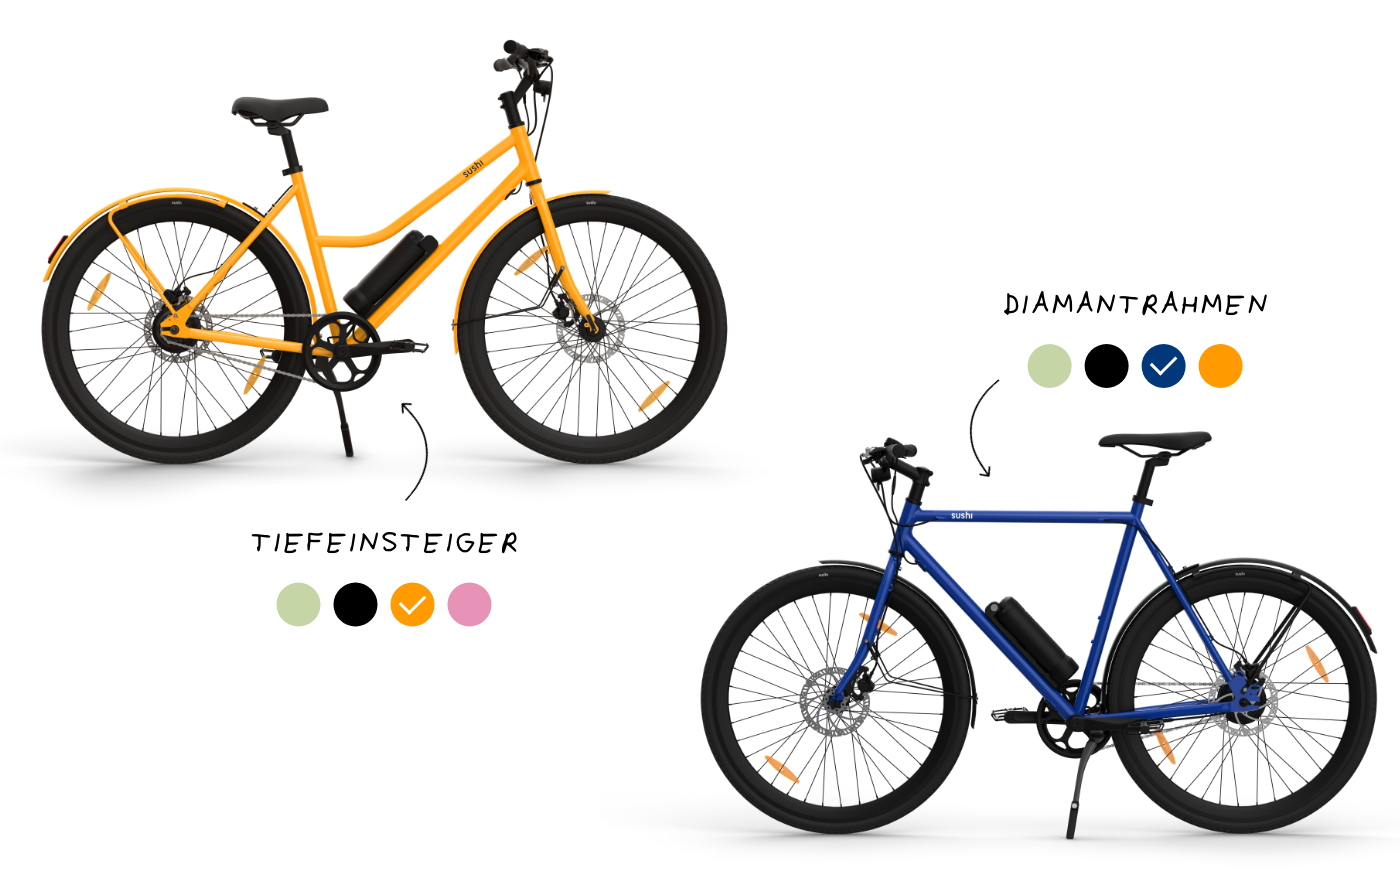
Attention: Due to the frame geometry, this wall mount is only suitable for the Maki, Maki+ and Maki 3.0, but not for the California Roll, California Roll+ and California Roll 3.0.


